Are you tired of struggling with a stuck or malfunctioning cordless drill chuck? We understand how frustrating it can be when you’re in the middle of a DIY project or a professional job, and your drill chuck simply won’t cooperate. But fear not!
In this article, we will guide you through the process of removing a cordless drill chuck. Whether you need to replace a damaged chuck or upgrade to a better one, this step-by-step guide will help you perform the task efficiently. Removing a cordless drill chuck might seem daunting, but with the right tools and technique, you can easily accomplish it without any hassle.
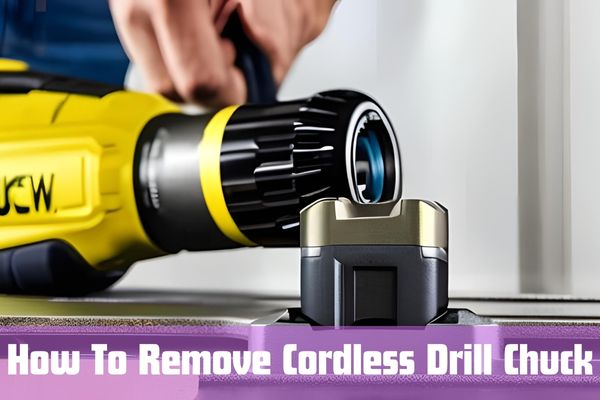
How To Remove Cordless Drill Chuck – A Step-by-Step Guide
Understanding About the Drill Chuck
The drill chuck plays a vital role in your cordless drill, which is why it’s essential to understand its role before removing it. The chuck is the component responsible for holding the drill bits securely in place. It allows you to change drill bits, which is crucial for various drilling tasks. Most cordless drills have keyless chucks, which means they can be tightened or loosened by hand.
Safety Precautions For Remove a Cordless Drill Chuck
When working with power tools, safety should always be the number one priority. Before attempting to remove the cordless drill chuck, ensure you take the following safety precautions:
Disconnect the Drill: Always remove the battery or unplug the drill from the power source before starting the process.
Protective Gear: Wear safety goggles to protect your eyes from any debris that may come loose during the process.
Stable Work Surface: Place the drill on a stable and flat surface to prevent it from rolling or tipping over.
Follow Manufacturer’s Instructions: Refer to the drill’s user manual for specific instructions related to chuck removal.
Here Are The 10 Steps For Removing a Cordless Drill Chuck
Step-1: Gather the Necessary Tools
To remove the cordless drill chuck, you’ll need the following tools:
Allen Wrench: Check the user manual for the correct size that fits the chuck screw.
Rubber Mallet: Used for tapping and loosening stubborn chucks.
Gloves: Optional, but wearing gloves can provide a better grip and protect your hands.
Step-2: Disconnect the Drill
Make sure your cordless drill is disconnected from the power source before beginning the removal process. If you have a cordless drill, remove the battery to prevent any accidental activation.
Step-3: Lock the Chuck
Hold the drill firmly with one hand and use the other hand to grip the chuck. Rotate the chuck to its maximum opening to expose the jaws fully. Look for the chuck screw inside the chuck—it is usually located near the center.
Step-4: Remove the Screw
Insert the correctly sized Allen wrench into the chuck screw. Turn the wrench counterclockwise to loosen the screw and remove it. Be sure to keep a firm grip on the chuck while doing this to prevent it from spinning.
Step-5: Remove the Chuck
After removing the screw, the chuck should come off easily. However, sometimes it might be stuck due to wear and tear or debris. If the chuck is stubborn, use a rubber mallet to gently tap the back of the chuck to loosen it. In order to prevent damage, do not use excessive force.
Step-6: Install the New Chuck
To install the new chuck, follow the steps above in reverse order. Insert the chuck onto the drill shaft and tighten the screw with the Allen wrench. Ensure the chuck is securely attached before using the drill.
Step-7: Test the Chuck
Once you’ve installed the new chuck, it’s essential to test it before proceeding with any drilling tasks. Turn on the drill and check if the chuck holds the drill bit securely. If there is any wobbling or instability, stop using the drill immediately and recheck the installation.
Step-8: Maintaining the Chuck
To ensure the longevity and smooth operation of your cordless drill chuck, regular maintenance is essential. Here are some maintenance tips:
Cleaning: Periodically clean the chuck to remove any debris or dust that may accumulate during usage.
Lubrication: Apply a light coat of lubricant to the chuck’s moving parts to reduce friction and prevent rust.
Storage: Store your cordless drill in a cool and dry place to avoid exposure to moisture and other damaging elements.
Avoid Overloading: Do not overload the drill with excessive force, as it can strain the chuck and affect its performance.
Step-9: Troubleshooting
If you encounter any issues with the chuck, such as difficulty in tightening or loosening, here are some troubleshooting tips:
Check Screw Tightness: Ensure that the chuck screw is securely tightened. Loose screws can cause instability.
Inspect for Damage: Examine the chuck for any signs of wear, cracks, or damage. If found, consider replacing it immediately.
Clean and Lubricate: Clean the chuck thoroughly and apply lubricant to the moving parts to address any stiffness.
Step-10: Upgrading the Chuck
If you are looking to enhance your cordless drill’s performance, you can consider upgrading the chuck to a higher-quality or specialized chuck. There are various options available, such as keyless chucks with faster bit-changing mechanisms or chucks designed specifically for certain types of drilling tasks.
Step-11: Seeking A Professional Help
If you are uncertain about removing or replacing the cordless drill chuck, it’s always best to seek assistance from a professional technician or a service center. They have the expertise and knowledge to perform the task correctly and safely.
FAQs
Can I use pliers to remove the chuck?
Plier use is not recommended for chuck removal since it can damage the chuck and complicate the process.
Is it possible to repair a faulty chuck?
In some cases, a faulty chuck can be repaired, but it’s generally more cost-effective and safer to replace it.
Can I use a hammer to remove the chuck?
No, using a hammer can cause significant damage to the drill and may render it unusable.
Are all chucks compatible with my cordless drill?
No, chucks come in different sizes and thread types, so it’s essential to get a compatible replacement.
Is it necessary to lubricate the chuck during installation?
Yes, applying a small amount of lubricant can make the installation smoother and protect the chuck from wear.
Conclusion:
I hope, In this article, you have learned details about how to remove cordless drill chuck. Removing a cordless drill chuck is a simple process that anyone can accomplish with the right tools and safety precautions. By following our step-by-step guide, you can confidently remove and replace the chuck whenever necessary. Remember to prioritize safety and refer to your drill’s user manual for specific instructions. Now you can enjoy a well-functioning cordless drill with a properly installed chuck for all your future drilling projects.
Thank you for the reading.
I have read all the instructions above and I like them very much. When I need to change my drill chuck I will follow the same steps.
You’re welcome! I’m glad to hear that you’ve read and appreciated the instructions provided. If you ever need to change your drill chuck in the future, feel free to follow the same steps outlined above. If you have any further questions or need assistance, don’t hesitate to ask.
Happy drilling!